Guide: How to Right Click on iPad?
Unlocking the full potential of your iPad involves mastering its features, and one essential skill is knowing how to right-click.
Whether you’re a seasoned iPad user or a newcomer, we’ll guide you through the simple steps to unleash the power of contextual menus on your iPad.
Also read: How to Add StubHub Tickets to Your Apple Wallet


The Trackpad Magic
Step 1: Open the Settings
To enable the right-click function on your iPad, head to the “Settings” app. This is your gateway to unlocking a world of additional functionalities.
Step 2: Access Trackpad Settings
Within “Settings,” navigate to “Accessibility” and then “Touch.” Tap on “Trackpad” to access the settings that govern your iPad’s touchpad.
Step 3: Activate Right-Click
Toggle the “Tap to Click” option; beneath it, you’ll find the “Secondary Click” option. Choose the “Finger” option for a seamless right-click experience.
Also read: Cuba to Join & Accept BRICS Currency in 2024?


How to Right Click on iPad?: Tap and Hold for Contextual Magic
Tapping and holding your finger on the iPad screen can trigger contextual menus for those who prefer a more tactile approach.
Step 1: Navigate to the App
Locate the app or item you want to explore on the home screen. It could be an icon, a link, or an image—anything that typically responds to a right click.
Step 2: Hold Your Finger
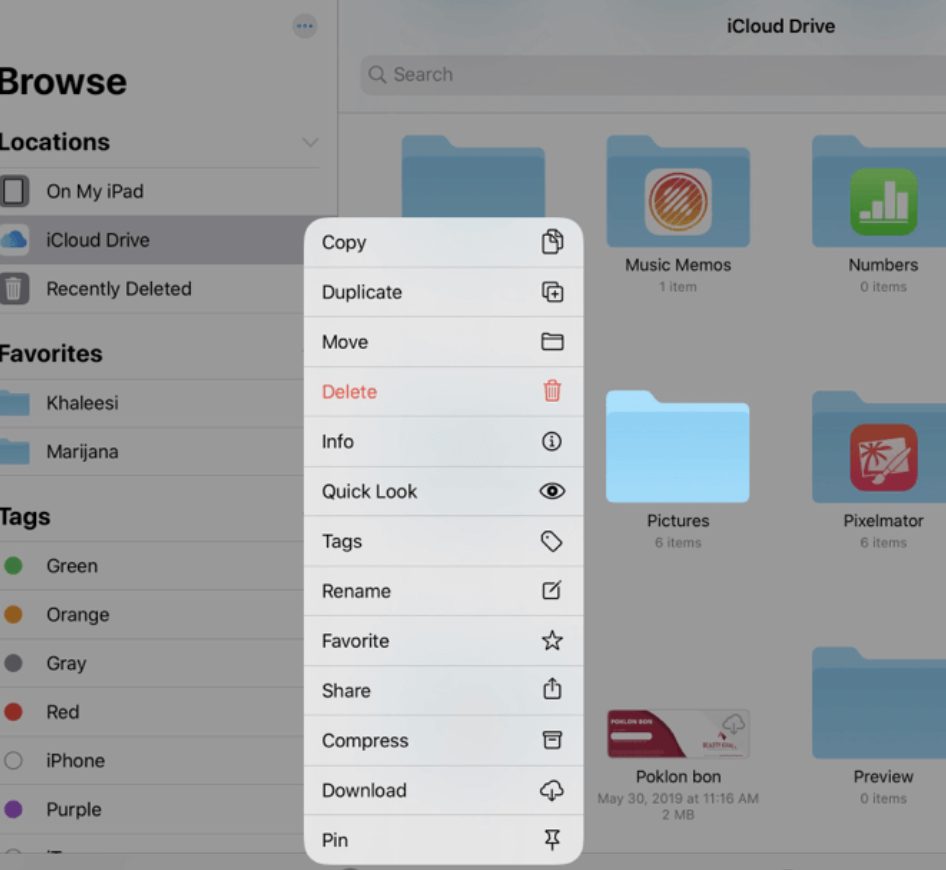
Instead of a traditional click, press and hold your finger on the screen. This action mimics the right-click function, unveiling contextual menus associated with the selected item.
Step 3: Explore Click Functions
Release your finger, and you’ll be greeted with a menu offering various options related to the item. This is where you can access additional functions, shortcuts, or settings.
Mastering Contextual Menus
Understanding contextual menus is the key to unlocking a myriad of possibilities on your iPad.
Tap and Hold Anywhere
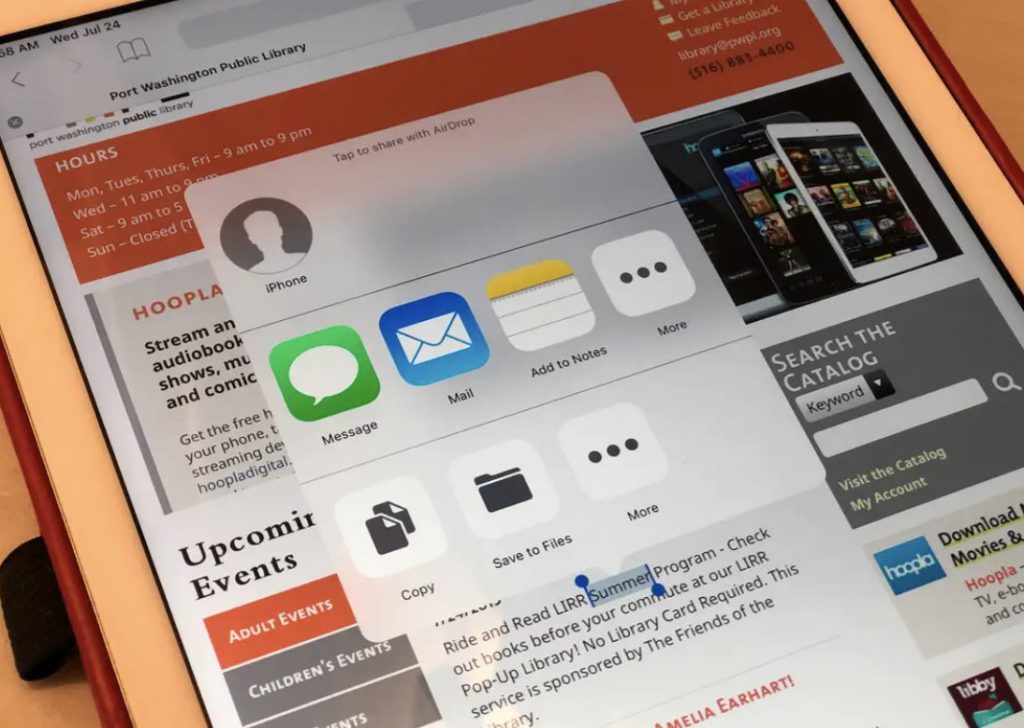
It’s not limited to app icons—try tapping and holding your finger on any part of the iPad’s screen to reveal context-specific options.
Long Press for More
Experiment with the duration of your press. A more extended hold might unveil even more features or settings related to the selected item.
Open the Settings for Customization
To fine-tune your right-click experience, delve into the iPad’s settings. There, you can customize various aspects, from the pressure needed to trigger a right-click to its associated functions.


Mouse or Trackpad: A More Traditional Approach
Connecting a mouse or trackpad to your iPad is a game-changer for those who prefer a more traditional input method.
Step 1: Open the Settings
Begin by opening the “Settings” app on your iPad. This is your control center for customizing input devices.
Step 2: Access Mouse or Trackpad Settings
Within “Settings,” go to “Accessibility” and then “Touch.” Tap on “AssistiveTouch” and navigate to “Devices.” Here, you can pair and customize your connected mouse or trackpad.
Step 3: Enjoy the Right-Click Freedom
Once connected, your mouse or trackpad will seamlessly integrate with your iPad. Right-clicking becomes as simple as clicking the designated button.
Conclusion
In conclusion, mastering the art of right-clicking on your iPad opens up possibilities.
Whether you prefer the touchpad experience, the tap-and-hold method, or the traditional mouse input, the choice is yours. Follow these straightforward steps, customize your settings, and embrace the convenience of contextual menus on your iPad.
It’s time to take your iPad navigation skills to the next level!


