The digital asset industry has seen Layer-2 blockchains become as popular as ever, with only more room to grow. Moreover, due to the rise in scaling solutions, blockchain bridges have seen an increase in popularity. Subsequently, let’s uncover how to use Metis Bridge, a very popular option, to cross to different blockchains, such as the Ethereum Network.
Cross-chain bridges are the connective function between two different blockchains. Indeed, these programs enable the transfer of cryptocurrencies between two distinct chains. Now, let’s dive further into Metis Bridge specifically and how to use it.
What is Metis Bridge?

Firstly, let’s delve into what the cross-chain bridge actually is. Specifically, the Metis Bridge allows the transference of tokens from the layer-1 Ethereum blockchain mainnet to the layer-2 Metis Andromeda platform.
Alternatively, while other layer 2 scaling solutions could feature centralized aspects, Metis is generally more decentralized due to its governance structure and community. Specifically, the community votes on developments in the ecosystem with METIS tokens.
How it Works

Metis Bridge allows its users to transfer a variety of tokens. Among those able to be bridged are the Metis token, Tether, Binance USD, Wrapped Bitcoin, Ether, USD coin, and more. Subsequently, when the tokens are moved, they are able to interact with protocols that have been integrated into the Metis platform.
Additionally, there is the ability to use a third-party bridge in Metis for the transference of other blockchains to Metis. These bridges include RElay Chain, Synapse Protocol, PolyNetowrk, and more.
How to Use It
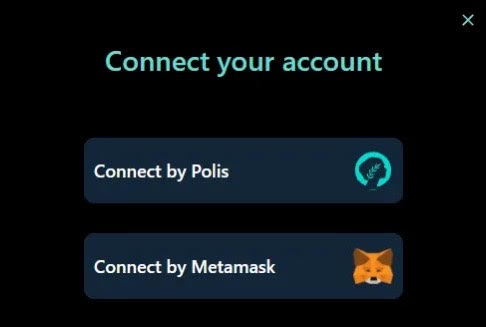

First, before you begin, you have to ensure that you have a MetaMask wallet. Then, you will navigate to Metis Bridge, and after making sure that you are connected to Ethereum. This will allow you to bridge tokens into the Metis Andromeda Network from the Ethereum Network. From there, you will connect your wallet. However, it is important to note that the bridge currently only supports MetaMask and Polis.
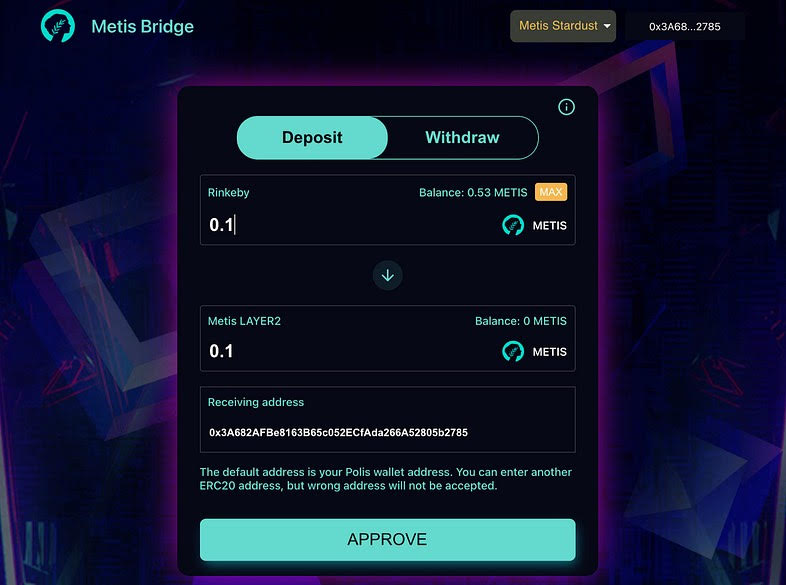

After you connect your Metamask, it will be time to bridge tokens. Specifically, you will select the token to bridge, but you must first ensure you have METIS. This is important as it will pay the Metis Bridgin fees.
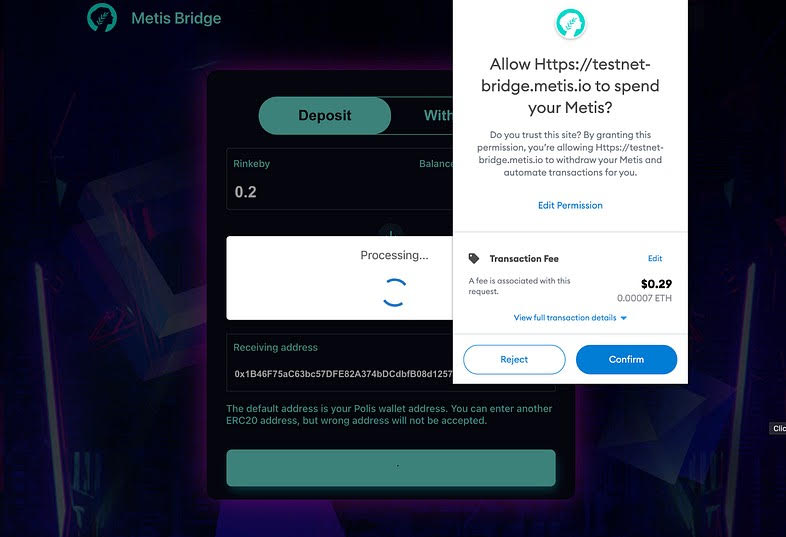

Subsequently, you will approve the contract and the spending of the tokens. You will then have to input an ERC-20-compatible address to receive the tokens you are bridging. Conversely, the tokens will be sent to your Polis wallet by default. Finally, you will confirm the transaction, which shouldn’t take long.
Following the confirmation, you should wait for some time before you switch to the Metis network on Metamask. However, after you have waited, you should be able to view your updated balance.
The Metis network is still fairly new, but the strides that it has already taken are very impressive. Subsequently, as technology progresses, it will be tremendously exciting to see how it can develop and evolve over time.


