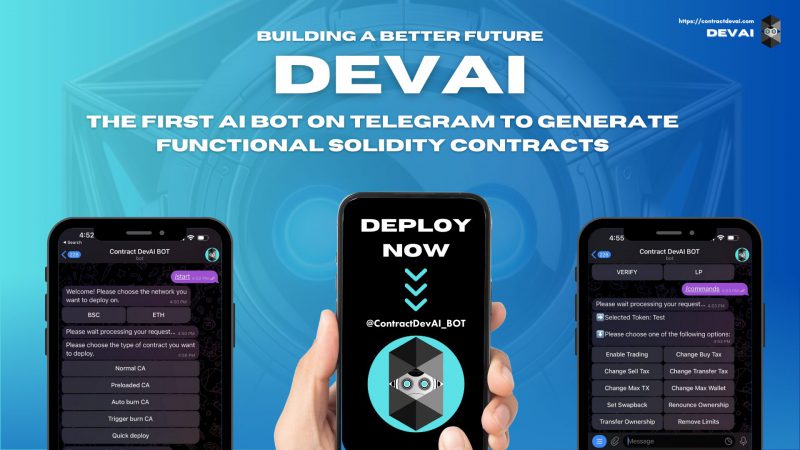
In recent years, the global financial landscape has transformed in ways previously not thought about. With the advent of cryptocurrencies and decentralized finance, the way people transact and send value has completely changed. Although many of us use cryptocurrencies often, many may wonder how to create a smart contract from scratch. DEVAI solves this problem with the help of artificial intelligence, where users need zero coding knowledge.
DEVAI integrates artificial intelligence to compute and deploy customized contracts based on user inputs. Users can set all parameters required for a fully functioning cryptocurrency project, such as taxes, deployment, verification, adding liquidity, burning or locking liquidity pools, enabling trading, and much more. The best part is that users do not need any coding knowledge. The artificial intelligence program will take care of all coding.
Apart from not needing any coding knowledge, DEVAI users also save a lot of time and capital. The platform can create a smart contract in under just two minutes. Moreover, users do not need to hire programmers and experts to launch their crypto projects. The platform charges a fee of just under $100, compared to paying thousands if they employ professional programmers.
The platform solves all security aspects by ensuring the contracts deployed are safe and don’t include malicious codes.
Furthermore, the project is releasing a new feature this week which will give the ability to create and deploy to a Web App. Moreover, this feature will also include the ability to launch Solana (SOL) contracts to the web app. The team decided to include SOL contracts after a massive surge in volume on the SOL network.
How to create your cryptocurrency using DEVAI?
DEVAI is a Contract Developer AI that significantly simplifies creating a smart contract. Users can follow a few easy steps to get started.
- Go on Telegram and search for “@ContractDEVAI_BOT” and click start.
- Choose the network you want to deploy their smart contract on. After selecting a network, users can enter their token name, which will also be the project’s name. Users can then enter their token’s ticker, which will be its cashtag.
- Enter the total supply for the token. This is the total number of tokens available on the chain. Users should choose a number above 300.
- Select the maximum wallet percentage. This is the maximum amount that a wallet can hold. Then choose the maximum transaction percentage. This is the maximum amount a wallet can send in one transaction.
- Then, put in your marketing wallet address. This wallet will receive the tax percentage allocated for marketing. After putting in your marketing address, users need to put in their dev wallet address, which receives taxes for development.
- Users then need to input the buy marketing tax, without using the “%” sign. Users will be prompted to input taxes for marketing, liquidity, and development. After inputting the buy tax, users will need to input the sell tax.
- Users then need to complete the payment to DEVAI, in BNB for the BSC network or ETH for the Ethereum network. Once the payment is complete, users need to paste the transaction hash or link.
- Once payment is confirmed, users need to generate a wallet, as prompted, or link an existing wallet by pasting the wallet key.
Once these steps are complete, users can deploy their smart contract. However, users should note they have sufficient gas fees for deployment. Users can type “/deploy” to deploy the contract. Users then need to verify the project.
Once verified, users need to add ETH or BNB to the liquidity pool. After this, users need to choose how much of the liquidity they want to keep out of circulation. Then users can select “Approve Contract” to add liquidity to the DEX. For BSC, the LP is added to PancakeSwap, while for ETH, the LP is added to Uniswap. Users can choose to burn the LP or keep it unlocked. Users can type “/commands” to open the commands menu for the token.
To know more, you can watch a tutorial video of DEVAI on YouTube, visit their website, or other outlets via their LinkTree.
DISCLAIMER: THIS IS A SPONSORED ARTICLE


