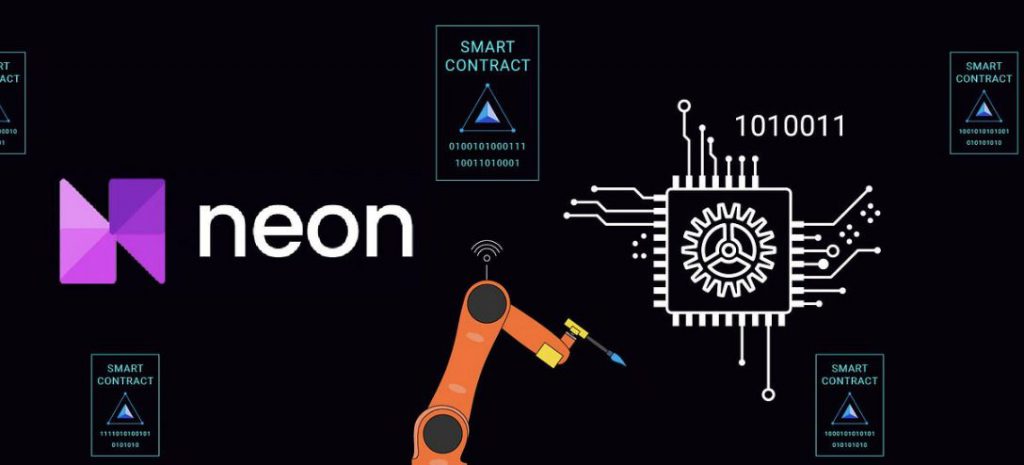
How to Bridge to Neon EVM: A Seamless Integration of Solana and Ethereum
Neon EVM, a runtime environment on the Solana blockchain, offers a unique opportunity to bridge assets from Ethereum, Solana, and other networks.
Neon EVM merges Ethereum’s smart contracts with Solana’s speed for efficient dApp experiences. It’s a powerful combo!
Discover how to integrate Solana and Ethereum through Neon EVM with benefits, fees, and integration steps.
Also read: What Can You Buy with Bitcoin?
Bridging Assets to Neon EVM: A Seamless Integration

With DeFi’s rise, cross-blockchain interoperability gains significance for seamless interaction between diverse networks.
Neon EVM enables Ethereum-like transactions on Solana, utilizing the native functionality of Solana’s blockchain.
Integration grants dApps Solana’s benefits: low fees, fast transactions, high throughput, and access to its expanding market.
Additionally, to facilitate the seamless integration of Solana and Ethereum, Neon EVM employs an intermediary proxy server that wraps up Ethereum-like transactions into Solana transactions.
These transactions are then executed in parallel by Neon EVM, ensuring the efficient execution of smart contracts.
Furthermore, this approach allows any Ethereum application, including popular ones like UniSwap, SushiSwap, 0x, and MakerDAO, to be run on Solana without any changes to the existing codebase.
Moreover, key tools for Ethereum dApps such as Solidity, Metamask, Remix, Truffle, and others are fully compatible with Neon EVM, enabling developers to leverage their existing skill sets.
Also read: What Are NFT Royalties?
The Advantages of Neon EVM
Integrating Solana and Ethereum through Neon EVM offers several advantages for developers and users alike. Let’s explore these benefits in more detail:
1. Low Gas Fees and Transaction Costs
One of the primary advantages of Neon EVM is the ability to leverage the low gas fees and transaction costs native to the Solana blockchain.
Additionally, Ethereum has been known for its high gas fees, which can limit the scalability and affordability of dApps.
By bridging assets to Neon EVM, developers can take advantage of Solana’s cost-effective transactions, providing a more accessible and affordable experience for users.
2. Parallel Execution on Solana
Neon EVM enables parallel execution of smart contracts on the Solana blockchain. This parallel processing capability allows for faster transaction confirmation times and improved scalability, as multiple transactions can be executed simultaneously.
By harnessing Solana’s high transaction speed and throughput, Neon EVM provides a seamless and efficient experience for dApps, ensuring that the ecosystem can handle increased demand without sacrificing performance.
3. Access to the Solana Market
Developers gain access to the growing Solana market by bridging assets to Neon EVM.
Furthermore, Solana has gained significant traction recently, attracting a vibrant community of developers and users.
By integrating with Solana through Neon EVM, developers can tap into this liquidity and reach new customers, expanding their user base and potentially unlocking new growth opportunities.
The Neon EVM Bridging Process


Now that we have explored the advantages of bridging assets to Neon EVM, let’s dive into the step-by-step process of how to bridge assets from Ethereum, Solana, or other networks.
Step 1: Choose a Neon-Compatible Bridge
To bridge assets to Neon EVM, you must select a Neon-compatible bridge that enables the seamless transfer of assets between different networks. One such bridge is NeonPass, which stands out as a preferred choice due to its high security, low transfer fees, and compatibility with a wide range of tokens such as WETH, USDC, SOL, and more.
Step 2: Connect Your Wallet
Visit the NeonPass website (https://neonpass.live/) and connect your preferred wallets, such as MetaMask or Phantom. This connection lets you securely transfer assets between Ethereum, Solana, and Neon EVM.
Step 3: Select the Chains and Bridging Token
Once you have connected your wallet, select ‘Ethereum’ and ‘Neon EVM’ as your two chains. Choose a bridging token that represents the asset you wish to transfer. NeonPass supports a variety of tokens, ensuring a seamless bridging experience.
Step 4: Approve and Transfer Funds
Enter the number of assets you want to bridge and click ‘Approve’ to initiate the transfer process. Follow the instructions provided by your wallet, and your funds will be swiftly transferred to Neon EVM on the Solana blockchain.
Understanding the Fees

Bridging assets between different blockchain networks may involve certain fees. However, NeonPass is recognized as one of the most cost-efficient platforms available.
The total cost to transfer assets from Solana to Neon EVM via NeonPass typically falls within $5-$10 USD. It’s important to note that gas fees may vary based on the prevailing rates at the transfer time.
Conclusion
In conclusion, Bridging assets to Neon EVM offers developers and users a seamless integration of Solana and Ethereum ecosystems.
By leveraging Neon-compatible bridges like NeonPass, users can securely transfer assets between Ethereum, Solana, and other networks, while taking advantage of Solana’s low gas fees, high transaction speed, and high throughput.
Neon EVM enables parallel execution of smart contracts on the Solana blockchain, providing an efficient and cost-effective decentralized application experience.
Are you a developer wanting Solana’s liquidity? End-users find affordable dApps via Neon EVM asset bridging. Explore possibilities!
Neon EVM isn’t just a bridge; it’s a powerful Solana-Ethereum tool promoting openness, innovation, and diversity. Remember that!
So, leap and bridge your assets to Neon EVM to unlock the full potential of decentralized finance on the Solana blockchain.


