


The digital asset industry has proven to be an ever-growing sector that is consistently building upon itself. For many participants, learning how to transfer assets from major networks to others has become an increasingly necessary process. Therefore, in this guide, we will answer how to bridge to Venom.
The Venom Bridge is the most preferable option for transferring assets from networks like Ethereum and Avalanche to Venom. Moreover, the bridge maintains compatibility with popular Ethereum Virtual Machine (EVM) wallets such as MetaMask and Coinbase. Its technology allows efficient transfers for some of the most popular cryptocurrencies on the market, including Bitcoin (BTC), Ethereum (ETH), USDC, and many others.
So, let’s explore a bit more about the network itself, and how to bridge assets to Venom.
Also Read: How to Bridge Ethereum (ETH) to Solana?
What is Venom?
For those who are rather new to the digital asset market, Venom is a name that may need some introduction. The blockchain without boundaries, Venom is a network that is dedicated to building a blockchain with main infrastructure functionality.
Specifically, it is a blockchain working to build a global ecosystem of Web applications. Moreover, it ought to bring forth unprecedented fast transaction speeds with quality scalability solutions to support the growth of its user base.
Also Read: How to Bridge to TON Network?
The Venom network allows you to build your decentralized applications that support global use cases in just minutes. Alternatively, you can enjoy the exploration of Web3 with no guardrails on this user-friendly and cost-effective network that features a host of DeFi applications.
Alternatively, the process of bridging assets to Venom is a rather simple one. Indeed, users can utilize a cross-chain bridge that makes that process easy for users of all knowledge levels.
Although Venom’s Threaded Virtual Machine (TVM) is not EVM-compatible, there are simple ways to bridge cryptocurrencies to the network safely and securely using the popular walle tMetaMask.
How to Bridge to Venom?
Also Read: How to Bridge Polygon to Solana?
To begin the process of bringing to Venom, users should do so through the Venom Bridge. This platform is audited by CertiK, and enables the process to be as smooth as possible. Moreover, to start the 5-step process, we recommend using the Venom wallet to begin the process.
1) Install The Venom Wallet
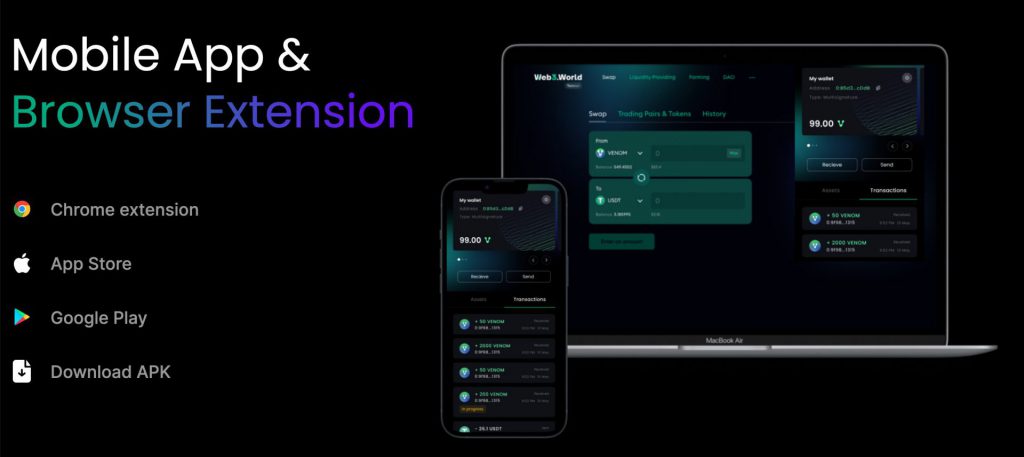
The first step of the process is to install the Venom Wallet. This provides a safe, reliable, and 100% self-custodial wallet that is perfect for managing your assets and bridging those to the Venom network.
The wallet will allow you to send and receive tokens or NFTs. Moreover, you can log in to various dApps, create multi-sig accounts, and support integration for the ledger. Moreover, it is a critical part of beginning the bridging process.
2) Buy Cryptocurrencies Through MetaMask
From there, you will need to purchase the USDT that you are seeking to bridge. For this step in the process, it is optimal to purchase those cryptocurrencies through MetaMask. Moreover, you will be able to purchase BSC, ETH, and others on any chain through the wallet provider.
This process will allow you to then connect the Venom and MetaMask wallet to further continue the process.
3) Open Venom Bridge
From here, your next step is to access the Venom Bridge. For this step, you will need to also open your Venom wallet and navigate to the browser section. Then, you will need to navigate to the Venom Bridge located here.
Additionally, you will have to ensure that your MetaMask wallet is also connected to the bridge at this point. This is the first true starting point of the process. It ensures that both sides are connected,
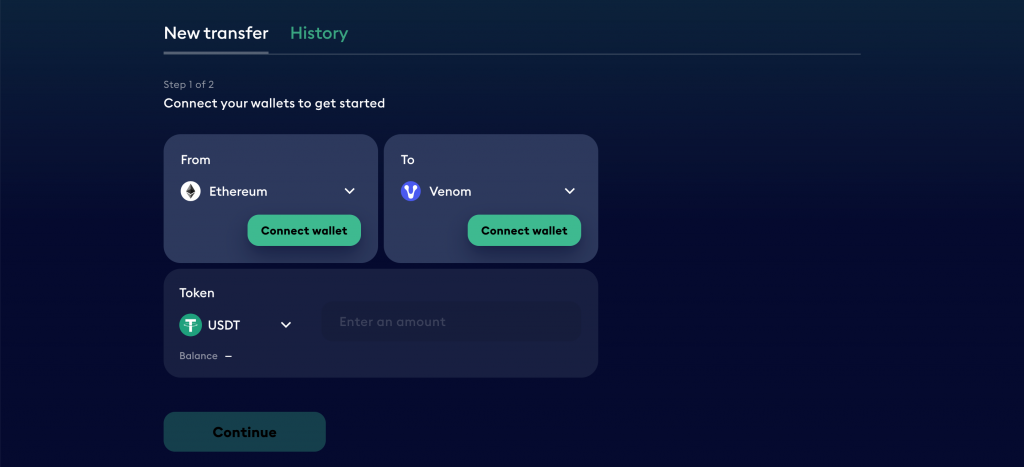
4) Select Source & Currency
From here, you will need to select the two most crucial aspects of the transfer. Specifically, you will be required to select both the source and destination chains. From there you will have to enter the amount of currency that you are seeking to bridge.
The benefit of utilizing the Venom bridge is that it features dropdown menus to ease the process for users. Subsequently, you should be able to navigate to the source and destination chains with ease once both wallets are connected.
5) Complete Transfer
Finally, you will be tasked with selecting the ‘Approve’ button available on the Venom bridge. This will authorize the transfer to begin taking place, and should only be selectable when all the information above it is verified and accurate.
When you have approved the transfer, you will need to follow prompts that occur regarding your wallet. This will allow you to finalize the transfer securely, and enjoy the benefits that come with bridging assets to Venom.
Conclusion
Also Read: How To Bridge to Avalanche?
The process of bridging to Venom is not just a simple one but is also known for its cost-effectiveness. When moving assets from Ethereum, for example, the fees will usually arrive at a minimum of $12, with $18 being around the maximum amount incurred. That is dependent on gas fees but lessens with other layer 2 platforms
Altogether, Venom is one of the most promising blockchains in the industry. It has set out to challenge the true efforts of security and scalability within the modern market. Additionally, its work has resulted in transaction speeds surpassing 100,00 per second at its already low costs.
The Venom Bridge has proven to be one of the most important asset transfer pathways to blockchains like Ethereum, Avalance, and others. Moreover, its connectivity with EVM wallets only increases the effectiveness of the overall transfer process. The trusted bridge denotes a bridging process that is fast, cost-effective, and orchestrated with ease of use in mind.