


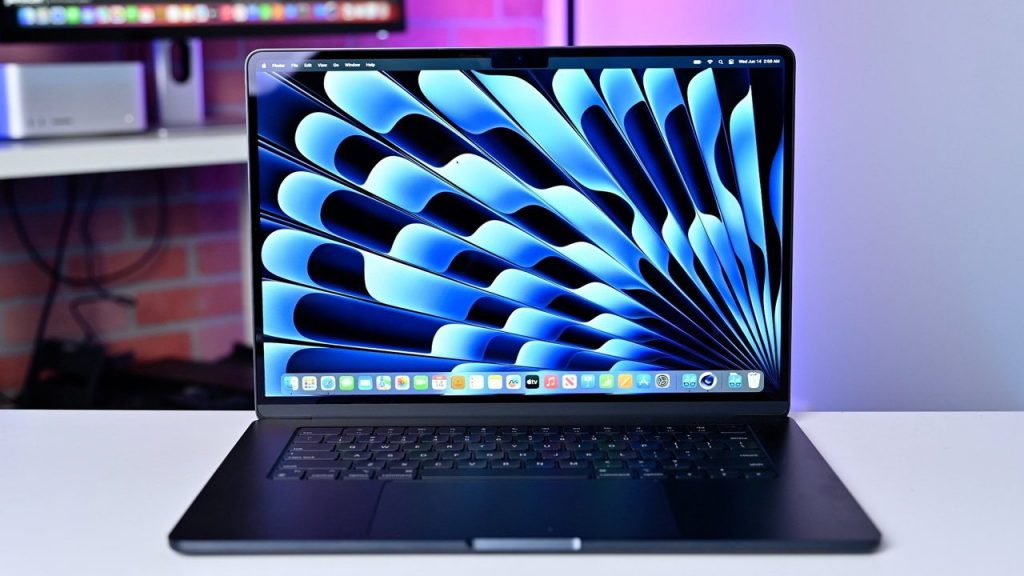
The prevalence of Apple products has become an undeniable reality of modern consumerism. Indeed, the interconnectivity of these devices has informed the company’s ascension to begin on the most popular on the market. However, there is still a slight learning curve for those new to these devices. Subsequently, in this guide, we will explain how to turn the ringer off on a MacBook.
Regarding laptops, there are a few more popular options than the MacBook. Apple reportedly sold 6.3 million units in the fourth quarter alone last year. Indeed, that certifies the device as one of the most popular computer options on the market. Yet, that is just one of the vast array of diverse products that Apple offers to consumers.
One of the clear drawing factors of these products is that they allow consumers to connect all Apple devices. This is a clear drawing factor for many modern-day users. With iPhones, iPads, and Apple Watches, a phone call can be detected across platforms.
However, this can also become a bit of an annoyance for some users. Therefore, this guide is going to divulge how exactly to turn a ringer off on your MacBook. That way you won’t be distracted when dealing with things on the computer, and wanting to keep the two devices and their activity separate.
How to Turn the Ringer Off of a MacBook

Also Read: The Magnificent 7: Apple, Amazon, Now Wield Greater Financial Power than Any Major Country
As we’ve previously stated, because of the interconnectivity of the products, your account is set to link your iOS devices. Therefore, you will want to navigate to your settings and preferences to customize those features. This guide will inform you on how to do that with your riner on your MacBook.
Your laptop is not a phone, therefore any phone calls that are linked to your MacBook come through the FaceTime app. These audio-only calls will alert you through that application. To prevent that alert from taking place, you’ll have to adjust notifications.
Firstly, you are going to want to select the Apple Icon on the top left corner of your screen. From there, you will need to select the Sysetm PReferences icon. This should then take you to another menu enabling enhanced customization options.
Also Read: How to Add Gift Card to Apple Wallet?
Furthermore, you will want to locate the option that says Notifications and Focus. This should be listed among the plethora of settings features and should be denoted with a bell icon. After you have found it and selected it, you will need to scroll through the list that appears to find FaceTime.
When you have located the application select it, and that should bring up a list of options and features. After you have navigated here, navigate to Allow Notifications, and ensure that it is turned to Off.
You will be able to confirm that the notifications feature is selected off if it is gray. Indeed, the color change will signify that the feature is no longer active and you should not be interrupted with any more ringing notifications.
Using Your iPhone
Also Read: How to Add StubHub Tickets to Your Apple Wallet
Alternatively, you can disable calls from your iPhone alerting on other devices. To do this, you will need to navigate to your phone’s Settings menu. From there, locate the Phone icon and select it. This should take you to more customizable features regarding your phone.
Then, locate the banner that says Calls on Other Devices. The default setting should say When Nearby, as for its alert feature. You can further manage the calls that alert on other devices through this many. Specifically, you have the option to select individual decides to form a drop-down menu.
To ensure that your MacBook does not get any calls from your Phone, disable this feature. Finally, you should be all set to not be disrupted on your laptop. Indeed, these steps should allow your ringer to be turned off on your MacBook.