


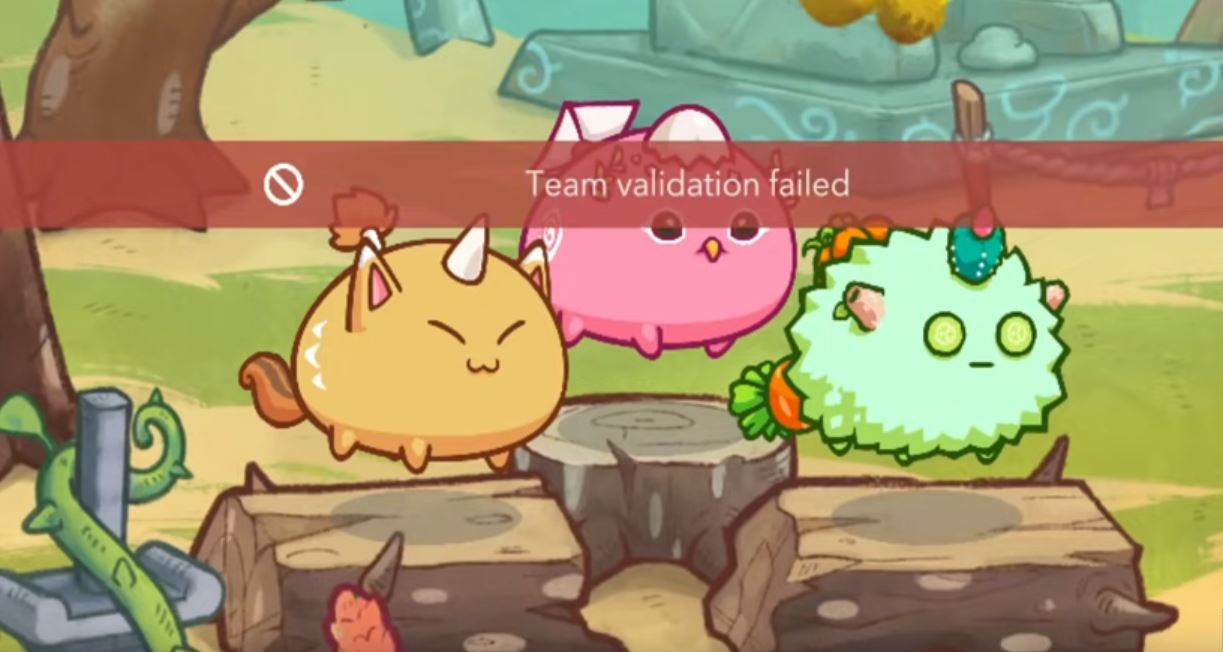
Have you run into a team validation mistake in Axie Infinity and aren’t sure how to go about it? Don’t panic! This is a common error that occurs while moving about your Axies. All you have to do is re-sync your Axies and re-create the validation error team if necessary.
Don’t know how to do that? Read on to see a detailed step-by-step guide.
What Causes Axie Infinity Team Validation Failed Error?
There are two reasons why team validation failure happens. The first is that those Axies do not exist in your inventory. Meaning that they’ve been gifted from one account to another, or you sold it in the marketplace.
One common problem with gifting is that it exposes you to phishing sites, hackers, or scammers. Once such parties get access to the Axies, you cannot get them back. The only thing you could do is just report those Axies that you have lost.
The second problem is that your Axies are not in sync with the Axie Infinity database. This could happen when you’ve recently bought Axies on the marketplace. Most times, you won’t be able to see them when you first log in.
How to Fix ‘Team Validation Failed’ Error
Regardless of the cause of the team validation error, the fix is the same as shown below.
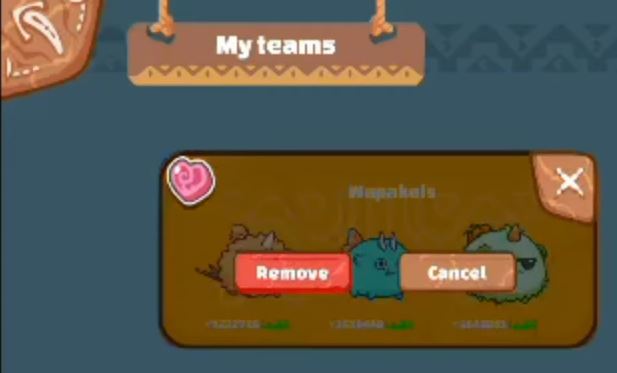
Step 1: Remove the Existing Team
Since there is obviously a problem with the current team, you will have to remove it.
Step 2: Create a New Team
Once you have removed the team with the validation error, it’s time to select a new team. Ensure that you have synced all your Axies on the ‘MyAxies’ window to ensure that you have Axies to create a team from.
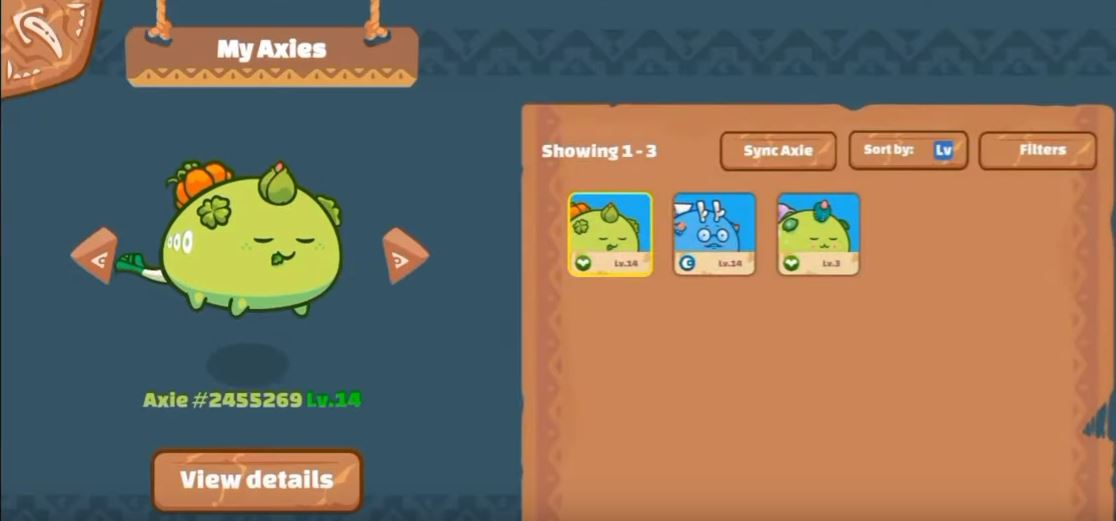
Once yourAxies are in sync with the Axie Infinity database, return to the teams’ window and select ‘New Team.’
Step 3: Select and PositionAxies in New Team
When creating teams, you’ll see three slots to fill and seven possible positions.
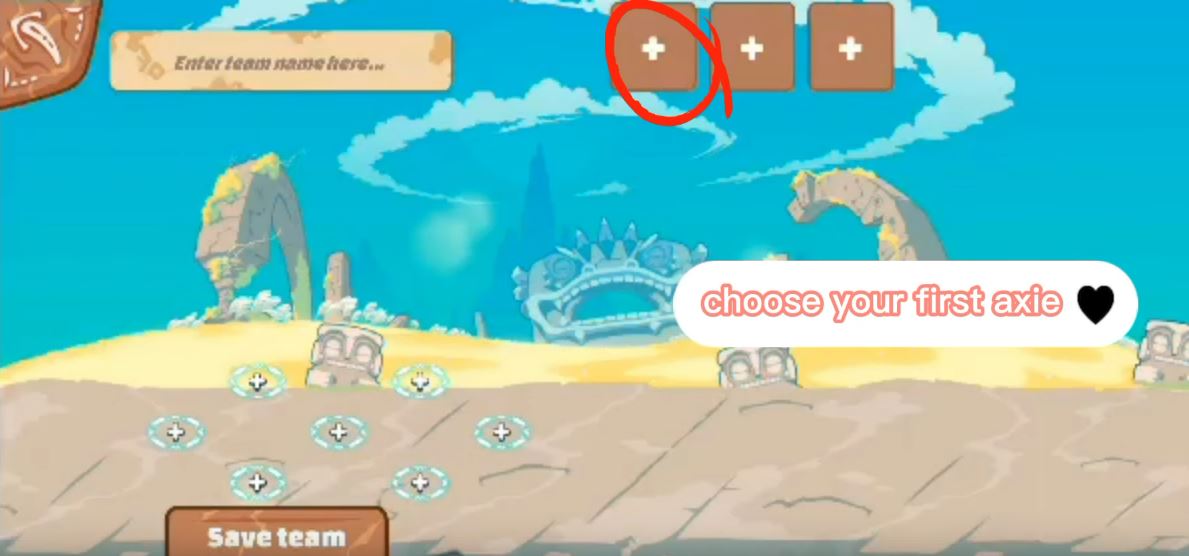
To get a list of yourAxies, press the ‘+’ button. YourAxies will all appear on the screen, and you will simply go ahead and select an axie for each of the three slots to form a team.
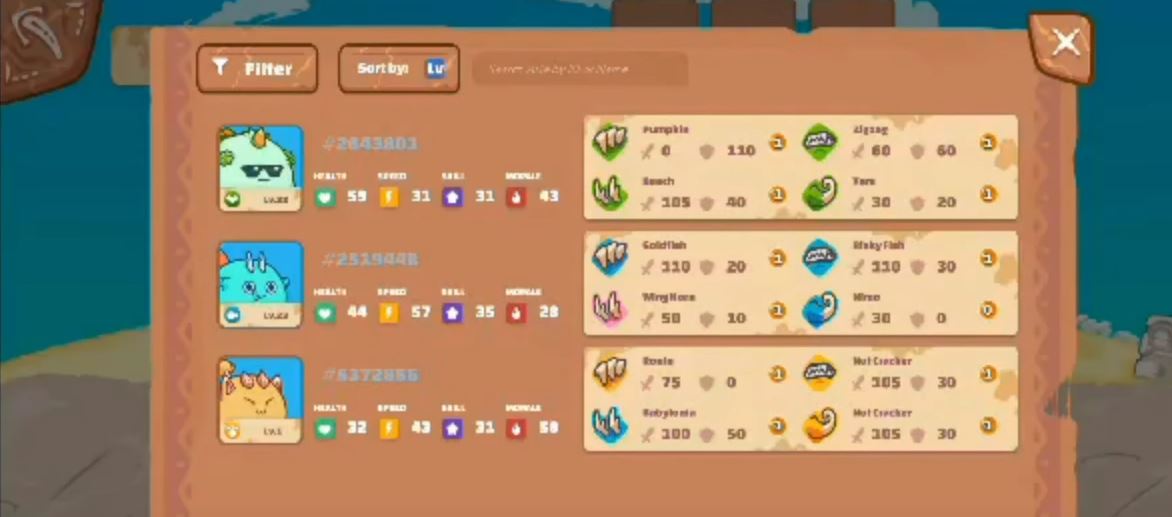
You can pick them in any order. However, you need to be careful how you position the Axies. This is because, while in battle, the Axie at the front will always be attacked first. Therefore, you need to put your strongest and most experienced axie there.
Therefore, you need to put your strongest and most experienced axie there.
Step 4: Name Your Team and Confirm
Once you select and position yourAxies and are happy, the next step is to go ahead and name your team. After which, click on ‘Save Team.’

Step 5: Select Your Team
After step four is done, you will see a pop-up saying ‘Team Created.’

From here, click on the new team and press ‘Select.’
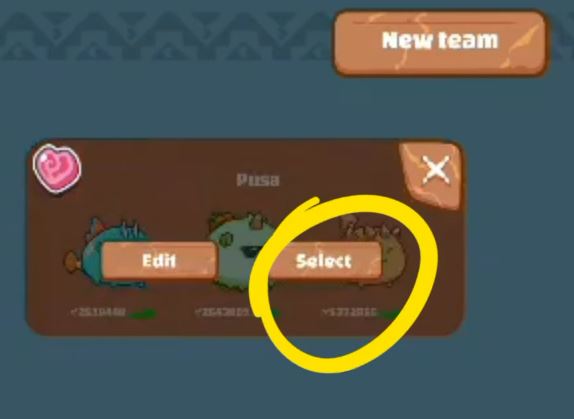
This will redirect you to the home screen, where you will see your newly formed team ready for battle!