Mastering Your Wallet: How to Change Default Apple Pay Card?
Unlocking the Power of Choice: Why Change Your Default Apple Pay Card?
The Power of Defaults: Your default Apple Pay card is like the VIP of your digital wallet—it takes the spotlight in transactions unless told otherwise.
But what if you want to switch things up? Maybe you have a new credit card with better perks or want to manage your expenses strategically.
Fear not; changing your default Apple Pay card is a breeze.
Also read: Apple Delays Release of Electric Car to 2028


iPhone, iPad, or Apple Watch: Where to Begin?
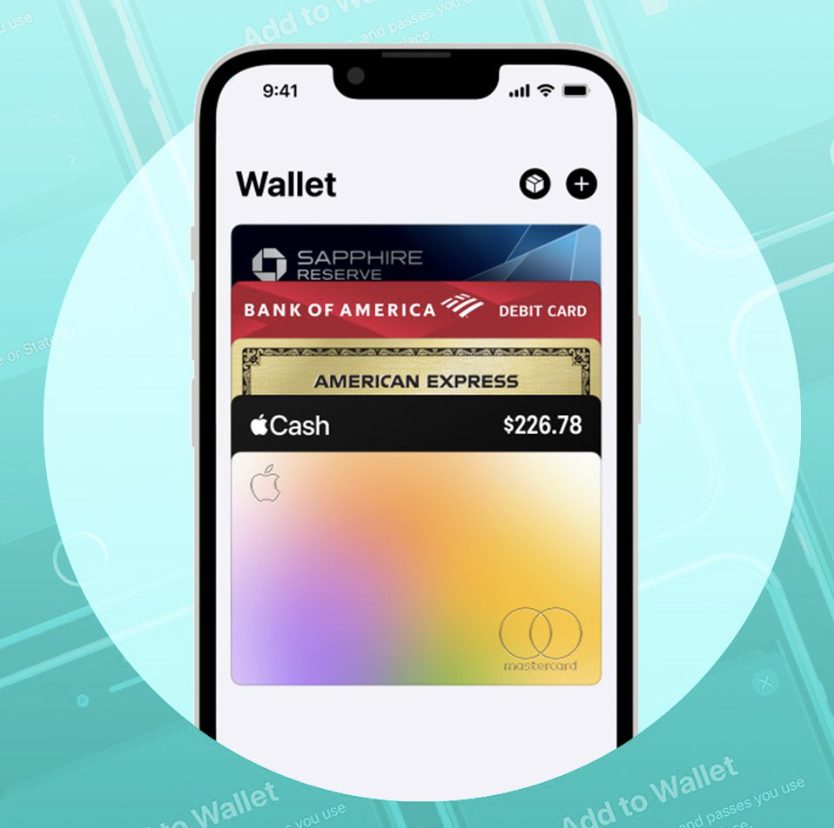
The journey begins with the Wallet app for iPhone and iPad users. Open it up and tap on the card currently holding the default status.
But what about Apple Watch aficionados?
Fear not, the process is just as straightforward. Head to the Watch app on your paired iPhone, find the Wallet & Apple Pay section, and tap on ‘Default Card.’
Now comes the magic touch (or tap). If you’re an iPhone or iPad user, tap on ‘Default Card’ after selecting the card you want.
Apple Watch users, it’s time to tap and choose your desired default card. Confirm your selection, and just like that, you’ve taken charge of your default destiny.


Apple Pay on the Wrist: A Quick Detour for Watch Users
Apple Watch users, we know you’re not to be overlooked. Your trusty Watch tab holds the secrets to changing your default card.
With a few taps on ‘Default Card,’ a selection made with precision, and voilà—your Apple Watch is armed with a new default card ready to conquer transactions.
Change is Good: The Simple Steps to Apple Pay Default Domination
Let’s dive into the specifics. If your weapon of choice is an iPhone, open it up, and head to the Wallet app. Once there, locate the card that currently lords over your transactions.
Now, tap on that card—yes, the very one you want to dethrone—and watch the magic unfold.
For those with an Apple Watch gracing their wrist, the journey is slightly different but equally manageable. Launch the Watch app on your paired iPhone.
Navigate to the Wallet & Apple Pay section, locate ‘Default Card,’ and tap. It’s a dance of taps, but it’s one you’ll lead effortlessly.
Here comes the moment of truth. Whether you’re wielding an iPhone, iPad, or Apple Watch, the final step is to tap on ‘Default Card.’ A list of your cards will grace your screen, each vying for that coveted default status.
Choose wisely, tap with purpose, and revel in your newfound control over your digital transactions.


Touch ID, Face ID, and the Finishing Touch
Unlocking Your Decision: Security is paramount, and Apple Pay ensures that your decisions are protected.
For iPhone and iPad users, you’ll confirm your selection with Touch ID or Face ID prowess. It’s the digital seal on your royal decree, ensuring that your chosen card rightfully ascends to default glory.
Also read: How to Add SeatGeek Tickets to Your Apple Wallet?
Conclusion
In conclusion, changing your default Apple Pay card isn’t a chore; it’s a liberating experience. The power to decide which card takes the lead in your financial transactions is now at your fingertips.
Whether you’re wielding the sleek iPhone, the versatile iPad, or the ever-handy Apple Watch, the process is intuitive and quick.
Embrace the freedom to adapt your default card as life unfolds, and let every tap be a testament to your financial prowess. The digital realm is your oyster; all it takes is a tap to uncover its treasures.


