


For many creative endeavors in the modern world, technology has brought forth a new wave of assistance. Specifically, artificial intelligence has progressed to become a vital part of the modern technological world. Amid the vast progression of image-generating technology and the desire to better understand the various components, we put together a step-by-step guide on how to install Dreambooth on Stable Diffusion.
The overall prevalence of Stable Diffusion has skyrocketed throughout the past year. Recognizing the greater AI industry, image generation has new use cases for content creators and researchers. However, it still has room to grow and has become an even greater tool than it is today.
Both Stable Diffusion and Dreambooth have become well-known names within the industry. Subsequently, as it grows and evolves, the parameters widen, and what can be accomplished only expands. So, lets delve into both of these things and explore how to install Dreambooth into Stable Diffusion
What is Stable Diffusion?
Also Read: How to Install Python-SocketIO on Stable Diffusion?
Before we discuss how to integrate these two things, let’s first take a small step back. Specifically, let’s explore what exactly stable diffusion is. If you are a newcomer to the space of AI image generation, it is important to understand some of the various nuances regarding this impressive and powerful algorithm.
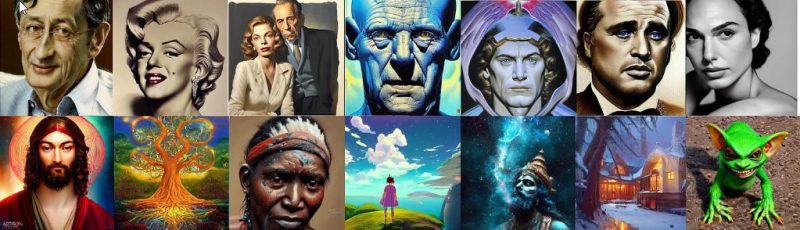
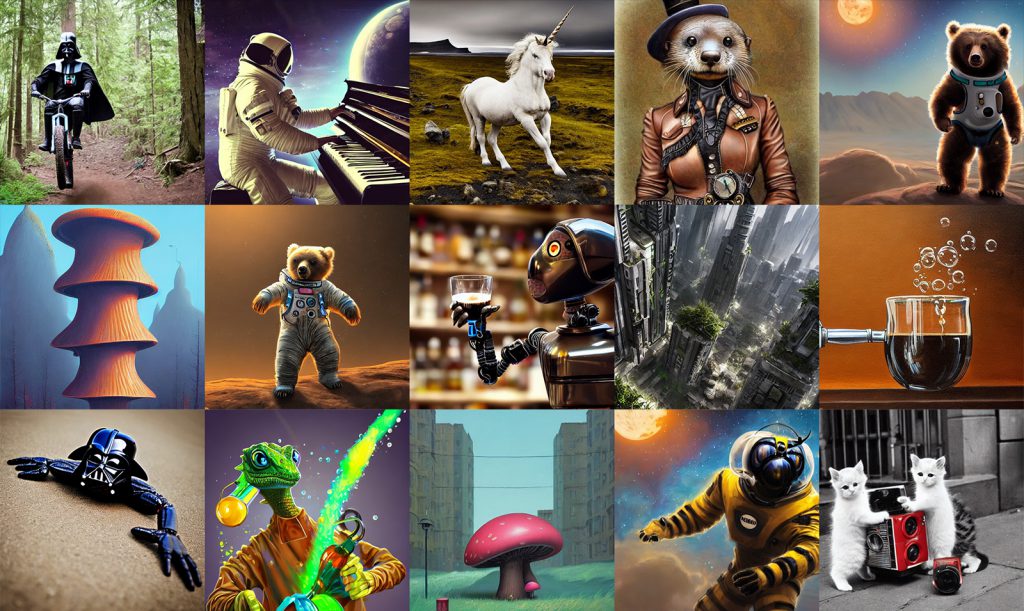
Stable Diffusion is a machine learning (ML) model that is used for the specific purpose of image generation. Like any other large-scale framework, such as OpenAI’s ChatGPT, this algorithm is used on a prompt-inputting basis. Subsequently, it generates images that can be extremely realistic and quite impressive.
The algorithm is one of the most used and impressive developments by artificial intelligence researchers over the last several years. Moreover, it operates through quite progressive deep learning (DL) techniques. This includes things like generative adversarial networks (GANs), which generate images through text input from the user.
Where this algorithm is different from others is the control that it grants the person generating these images. The parameters can be extremely specific, allowing customization of things like resolution, style, and more. Conversely, the algorithm is open source and is a vital advancement for content creators, artists, and AI researchers. As the tool grows, its capabilities only increase.
Now, let’s explore a little about what we are trying to install into Stable Diffusion: Dreambooth.
What is Dreambooth?
Also Read: How to Make Stable Diffusion Faster
Alternatively, Dreambooth is quite an impressive tool in its own right. These two things are quite similar, but they also represent quite distinct differences that are important to note before getting started with their integration. Specifically, Dreambooth is used to aid programs like Stable Diffusion. Let’s explain a little bit more.
Dreambooth is a tool that calibrates a text-to-image model like Stable Diffusion to create a more personalized and customizable algorithm. Indeed, Dreambooth allows the user to tailor their Stable Diffusion model with personal images that will enhance the output of an image-generating AI.
Through Dreambooth, you can generate images of you, your pet, or anything that you possess. Conversely, it is best to perceive these two things as different parts of the same process. Although Stable Diffusion is the engine for which the image-generating process occurs, Dreambooth is a key feature that can be added to increase the overall customization output from that engine.
Now that we know a bit more about both of these, let’s explore just how to install Dreambooth in Stable Diffusion.
How to Install Dreambooth to Stable Diffusion
What You’ll Need
Before we answer the specifics of the process, let’s break down some requirements for installing Dreambooth in Stable Diffusion. Specifically, there are three things that you will need to be able to fulfill such a process.
Firstly, you will need Windows 10 or 11 on the PC for which you are seeking to integrate these two tools. Then, you will need a Nvidia GPU that has at least 10GB of VRAM for the impending process. Finally, you will need a minimum of 25 GB of local disk space.
Now that we have those out of the way, let’s talk about the first step, which requires downloading the necessary programs.
Set Up Stable Diffusion
Firstly, you are going to want to download the GitHub project that is available here. Indeed, download and install the algorithm on your local system as the primary step to begin this process. After you have installed it, you should be able to launch the Stable Diffusion interface within your browser of choice.
Set Up Dreambooth
Now, you will need to set up the secondary piece for the process that you will need to install. First, you will need to locate the Extensions tab within the Stable Diffusion interface. Then, navigate to the Available tab and select the Load From option. That should bring up a display featuring all the extensions that are available to you. Then, find the Dreambooth extension and select Install.
Create a Model
Thereafter, you should be able to locate the Create a Model file under the Dreambooth sub-tab. Input the model name that you would like to use, and then select which source checkpoint you’d like to train it from. After you select Create, a brand new model directory should be available to you.
Train the Model
Thereafter, you will want to choose the newly created model from the Model drop-down menu. From there, select Train Model and fill in the necessary parameters. Specifically, these will include the concepts list, the instance prompts, the class prompt, the dataset director, the classification dataset director, the total number of classification images to use, training steps, batch size, class batch size, preview image prompt, and preview image negative prompt.
Things to Remember
Finally, before you begin generating images, you will want to consider any advanced settings in your settings and continue training the model if you wish. For advanced settings, you may want to consider things like using CPU only, caching patiences, trading the text encoder, and gradient checkpointing. Thereafter, to continue training, you will just have to select the model name from the drop-down menu. Then, select the blue button to load the previous parameters you used.
It is important to remember several things regarding the images you select. These should be a variety of options and show varied body poses and lighting setups. Ensure you are mindful of things like elements and other facets that are consistently present. Moreover, use around 50 images and ensure that they are resized and cropped to 512 x 521 pixels.